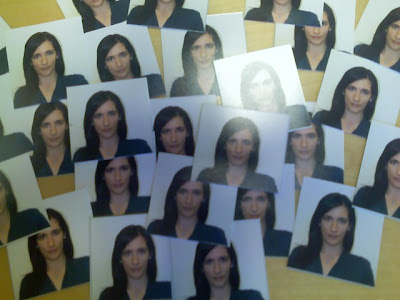
As I researched my trip, I learned I'd need about 20 passport-sized photos for visas, visitor IDs, and the like throughout the three months abroad. When I found out that CVS was my cheapest option at $7.99 for 4 passport pictures, I decided my money was better spent elsewhere and decided to make my own. It turns out that this is easy to do. All you need is a camera and an internet connection.
Step One: Take a photo
You'll need a plain, light background (a white wall is just fine). Use your self-timer or borrow a friend to take a photo of you straight on, making sure to include your upper chest and some extra room at the top of the frame. Try to use natural light so there's no redeye or shadows behind you. Remember not to smile - there's nothing funny about passport pictures (actually, it's a post-9/11 requirement).
I took mine using the self-timer option and perching my camera on the edge of my desk at work. Step Two: Crop to passport specifications and make a contact sheet
Passport photos have stringent requirements for size and head placement in the picture. This would make taking your own passport photos difficult, except there's a great free service called epassportphoto.com that helps you crop your image to US passport specifications (or nearly any other country if you wish). They also create a nifty contact sheet of your picture so it's ready to print.
Step Three: Print your passport photos
Passport photos are 2"x2", which means that, conveniently, exactly six fit on a 4x6" print. I used CVS's nifty kiosk option to print 6 of these. At 19 cents per print, 36 passport photos cost me $1.14. Not bad!
Friday, March 6, 2009
DIY Passport Photos for Super Cheap
Labels:
travel tips
Subscribe to:
Post Comments (Atom)
0 comments:
Post a Comment